DIY Halloween Spider Wall
If you would have walked through my house of Halloween pasts, there wouldn’t have been a cobweb, spider or skeleton in sight! What a fright! Around this time of year, I’ve always been full speed ahead on Fall and Thanksgiving decor! All of the pumpkins, wheat, apple or pumpkin scented candles, and mums. HEAVEN. So, needless to say, Halloween decor was never a priority. But thanks to my friend, Nichole and her Halloween inspiration (@nichole_mallett) I am starting to love Halloween decor!
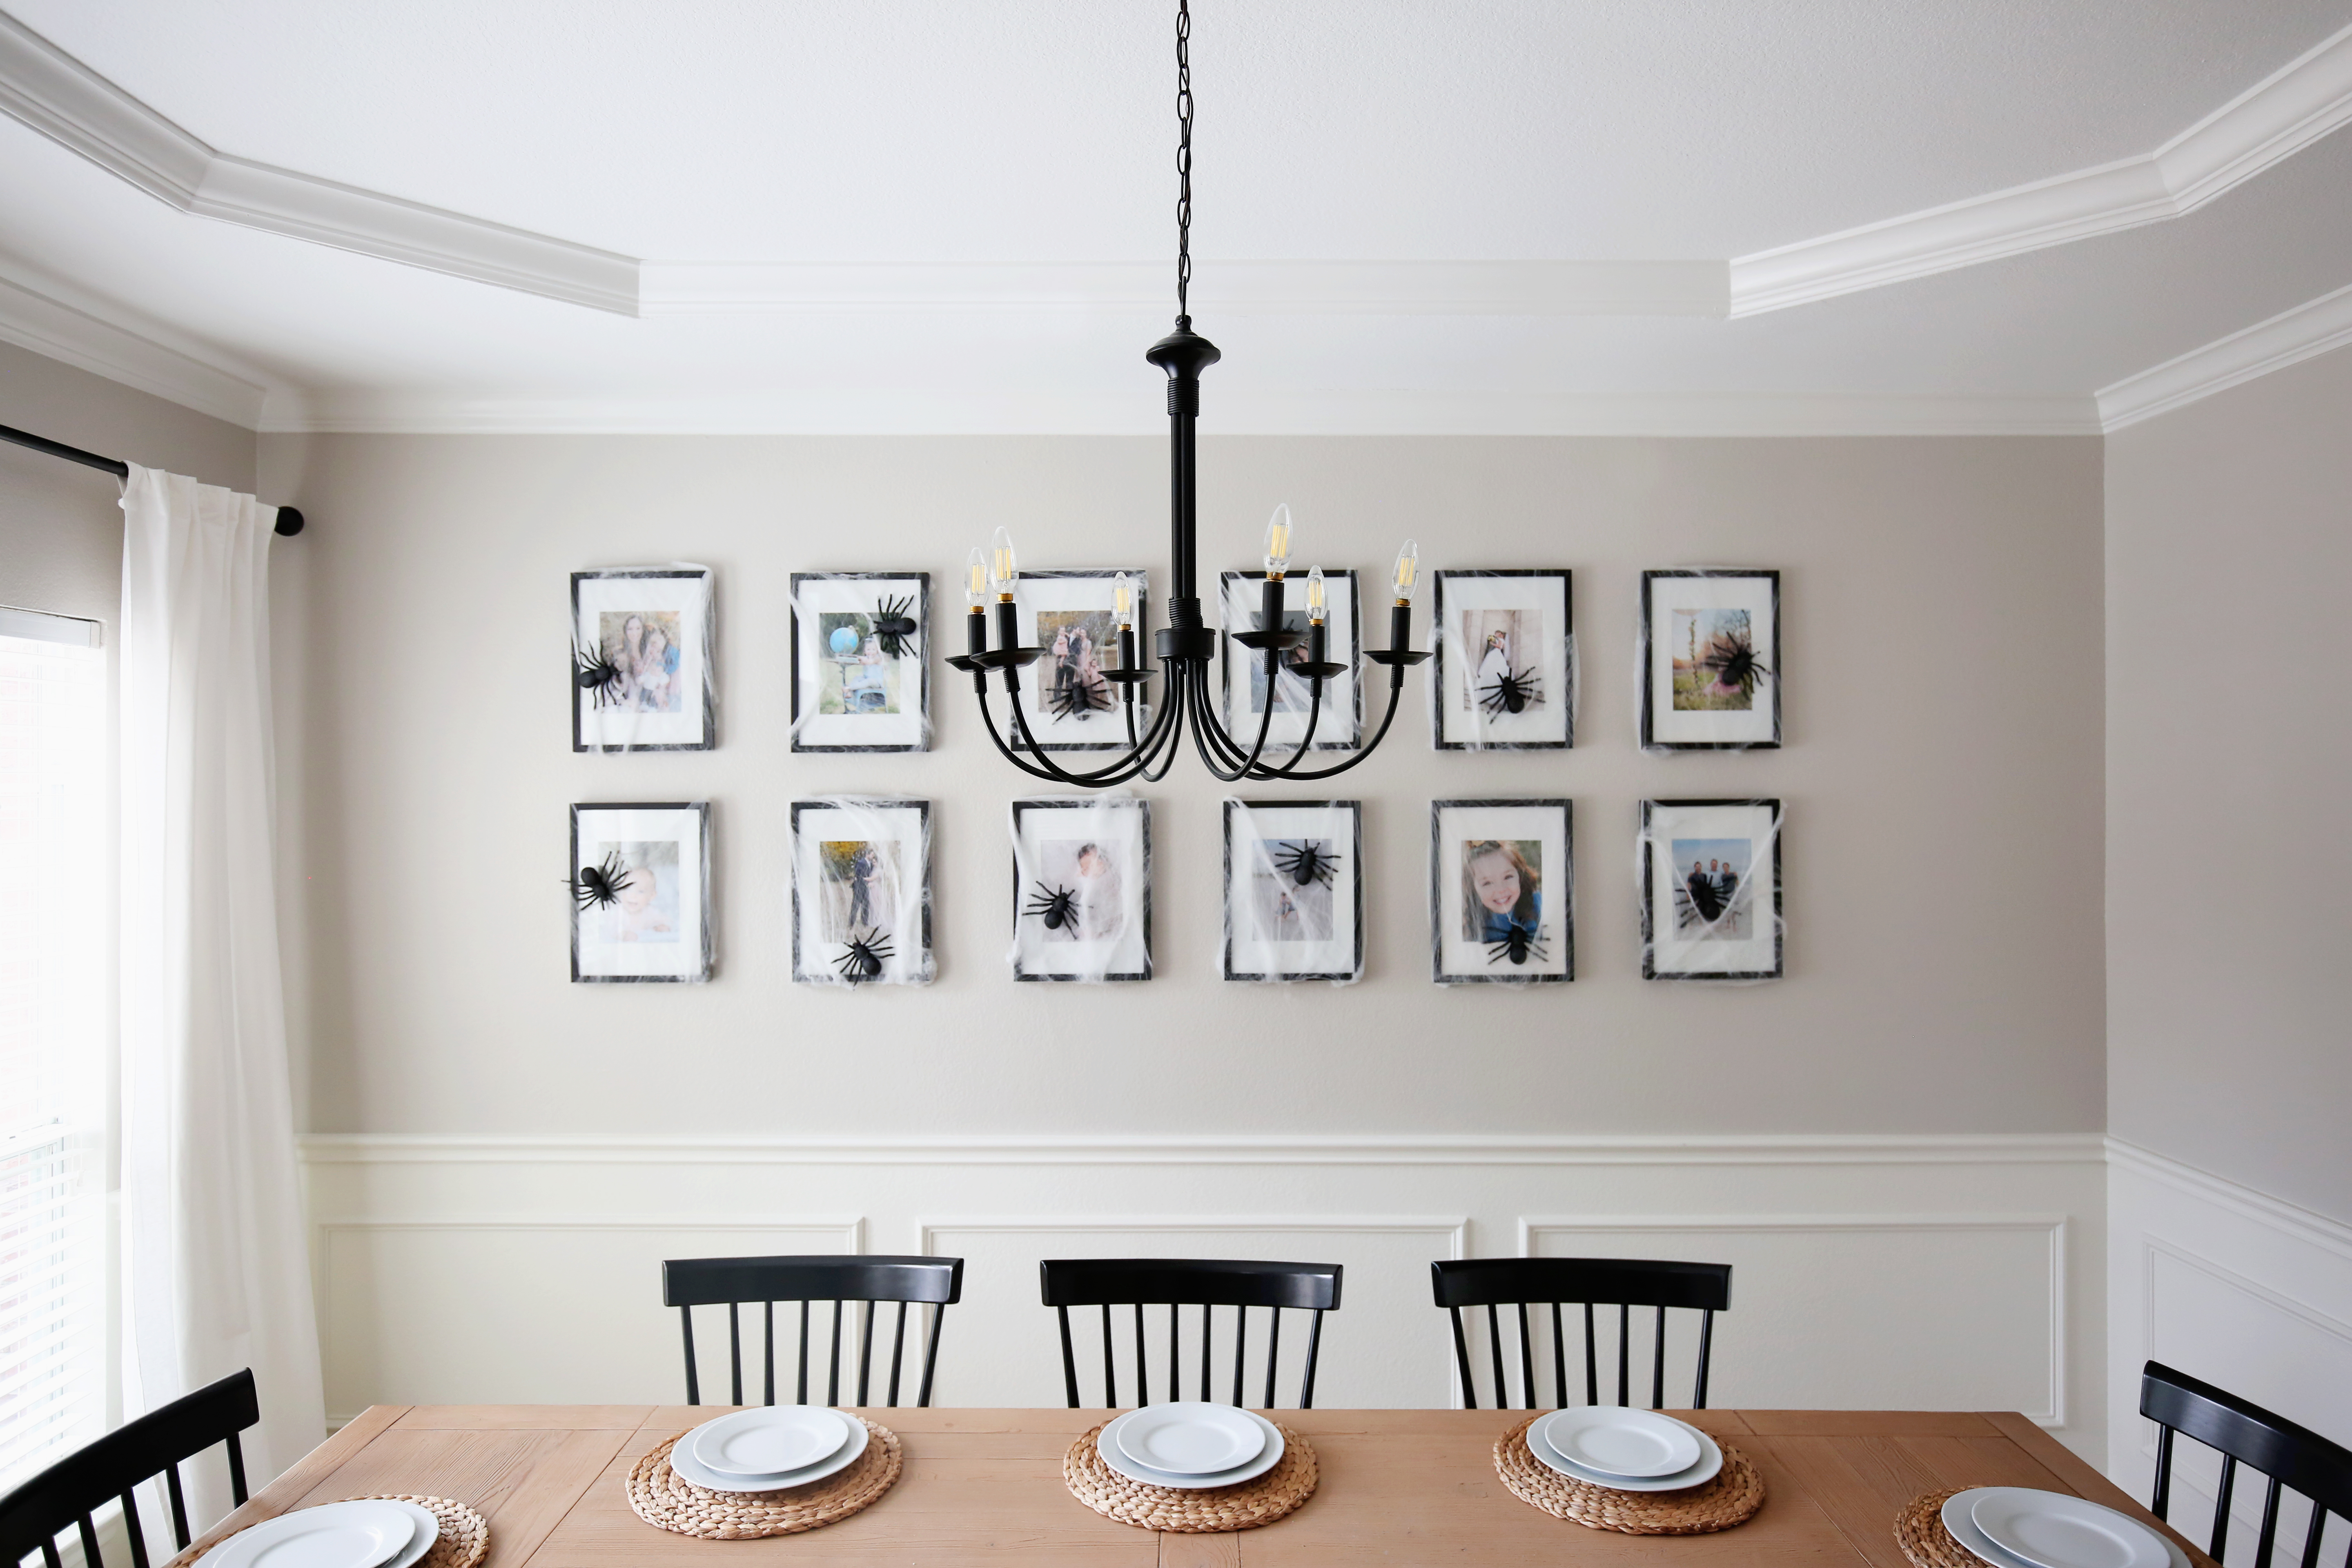
Her Halloween stash is ghoul goals, and she’s given me a few tips along the way! It is definitely something that you add onto every year. Rome wasn’t built in a day, and a good holiday decor collection isn’t either! This year, I’m starting with an affordable and easy spooky spider wall.
THE GRAND TOTAL: $8. No typo!
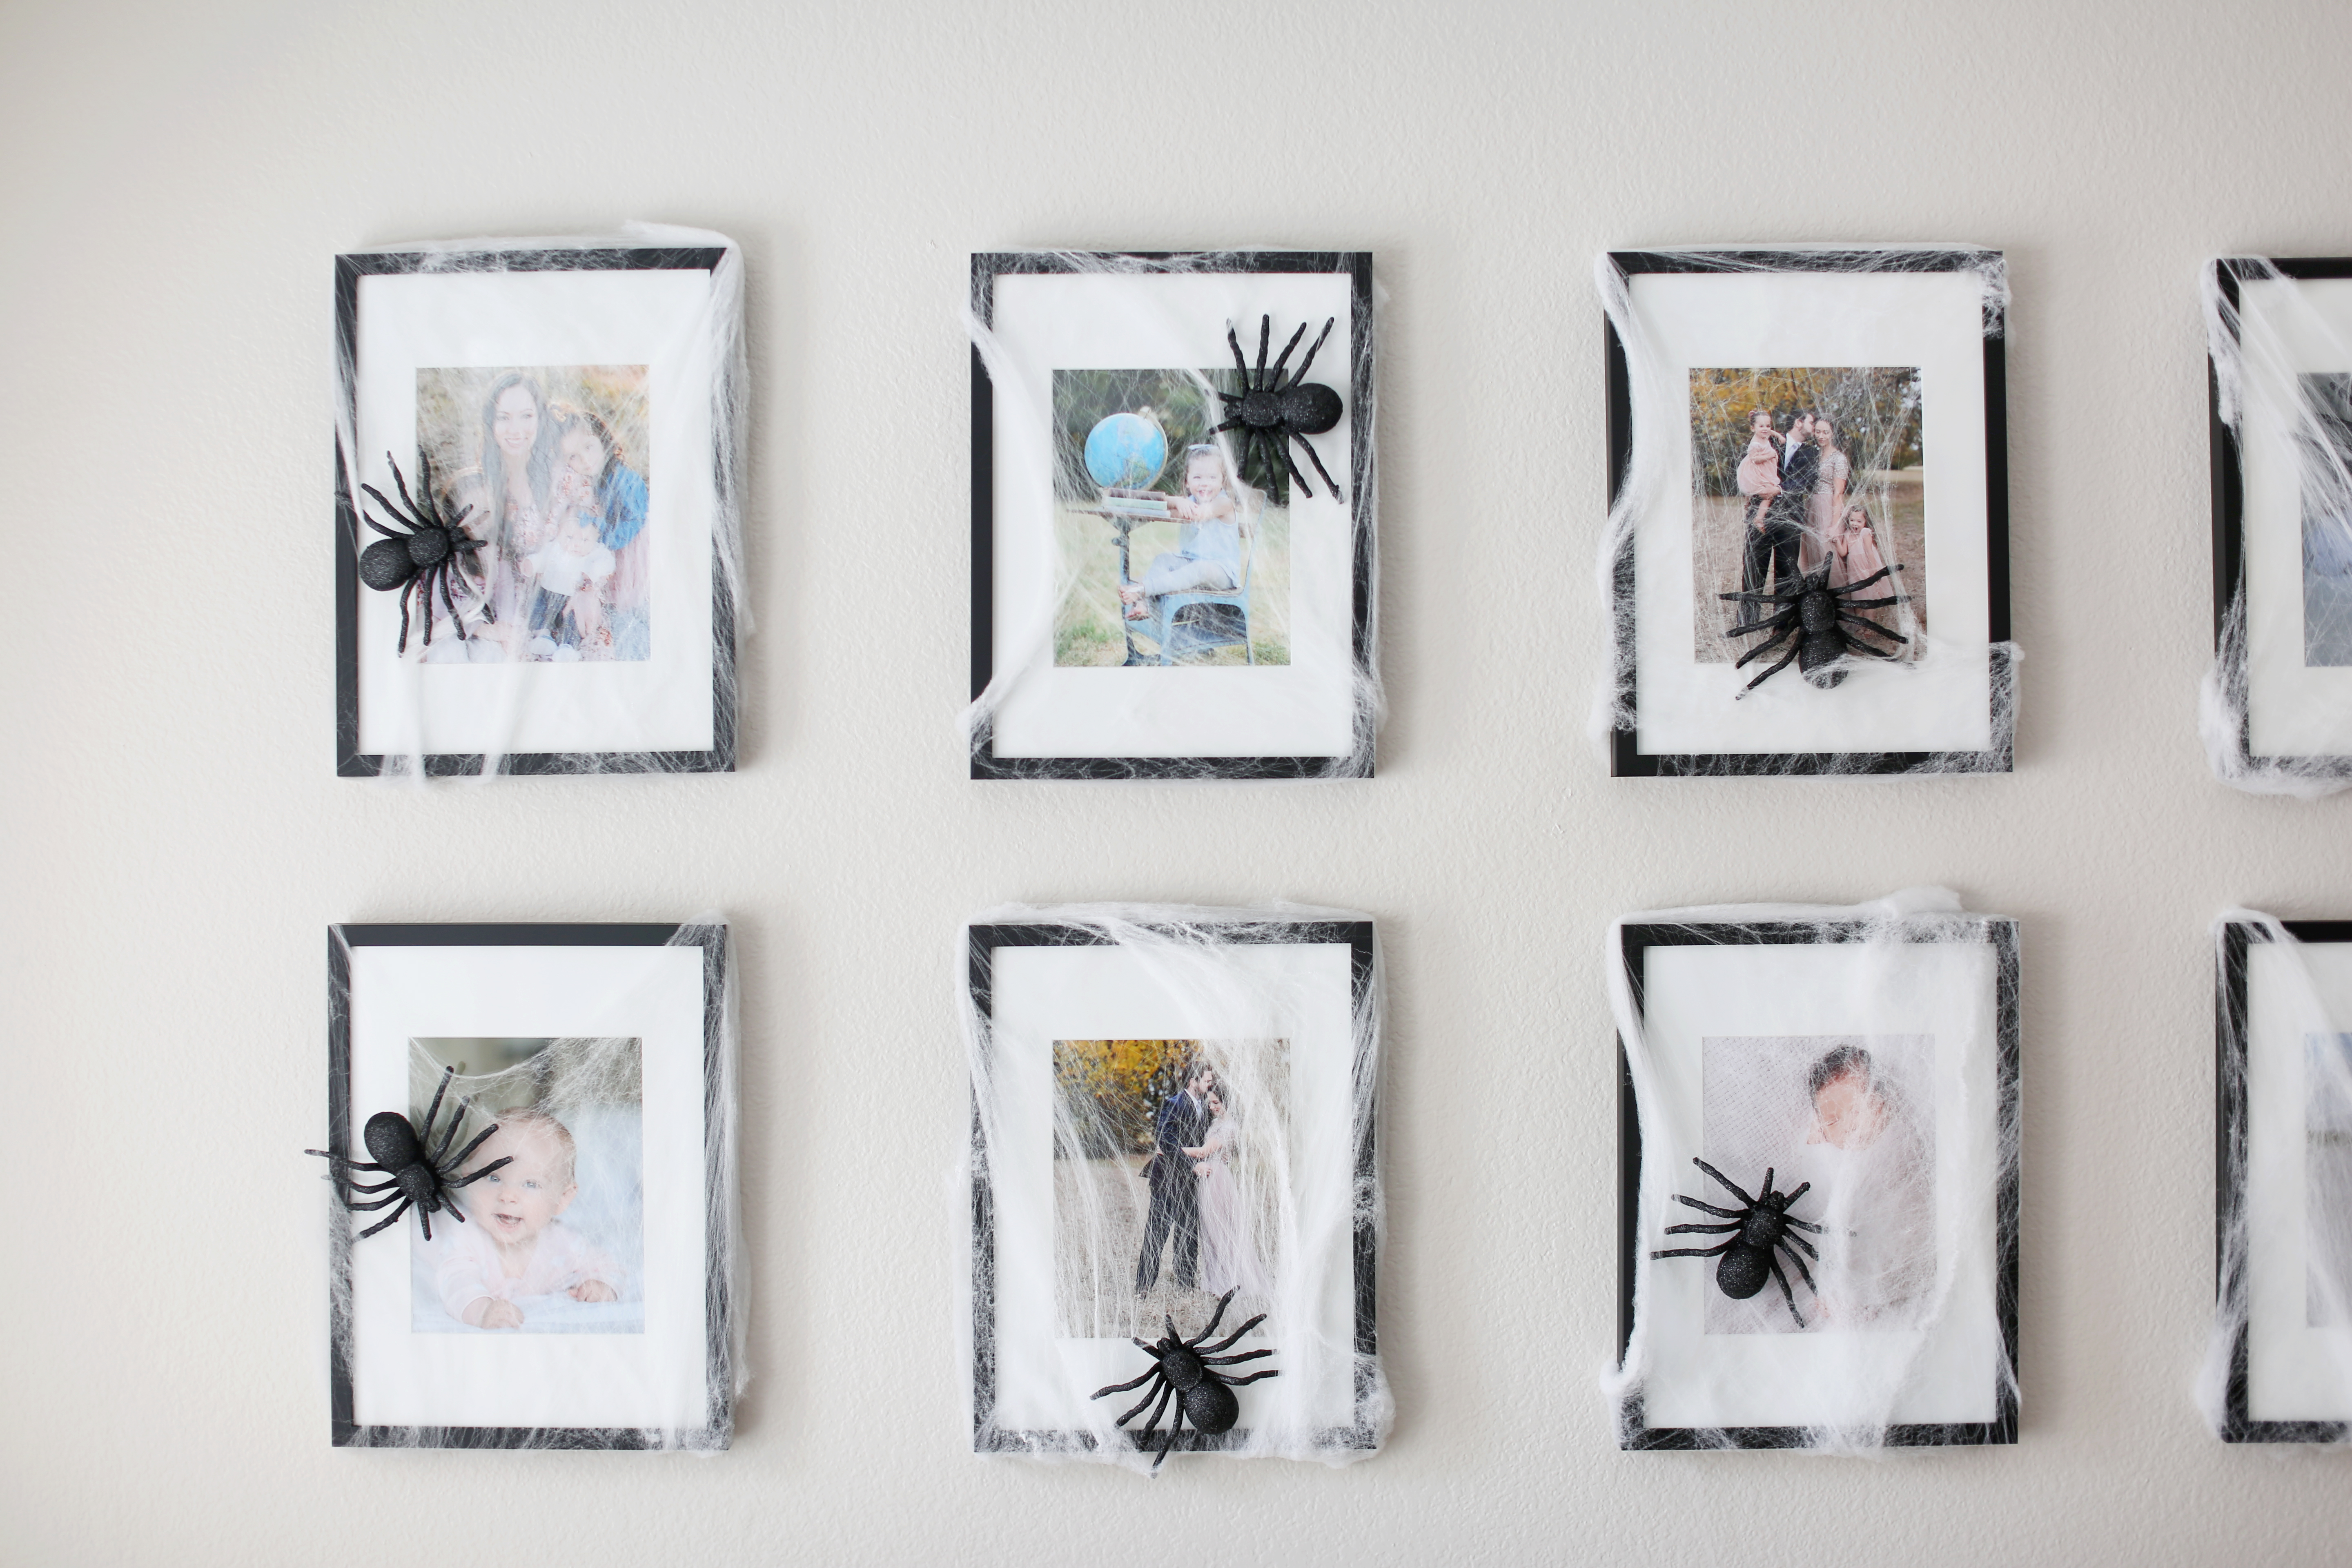
Walmart and the Dollar Tree have been my go-tos this season for a Halloween decor stash on a budget. I found all twelve glittery spiders for my twelve frames in packs of two at the Dollar Tree. So if you’re keeping score, 6 packs = $6. I bought two packs of the webbing for $1 each so webbing = $2 for a grand total of $8.
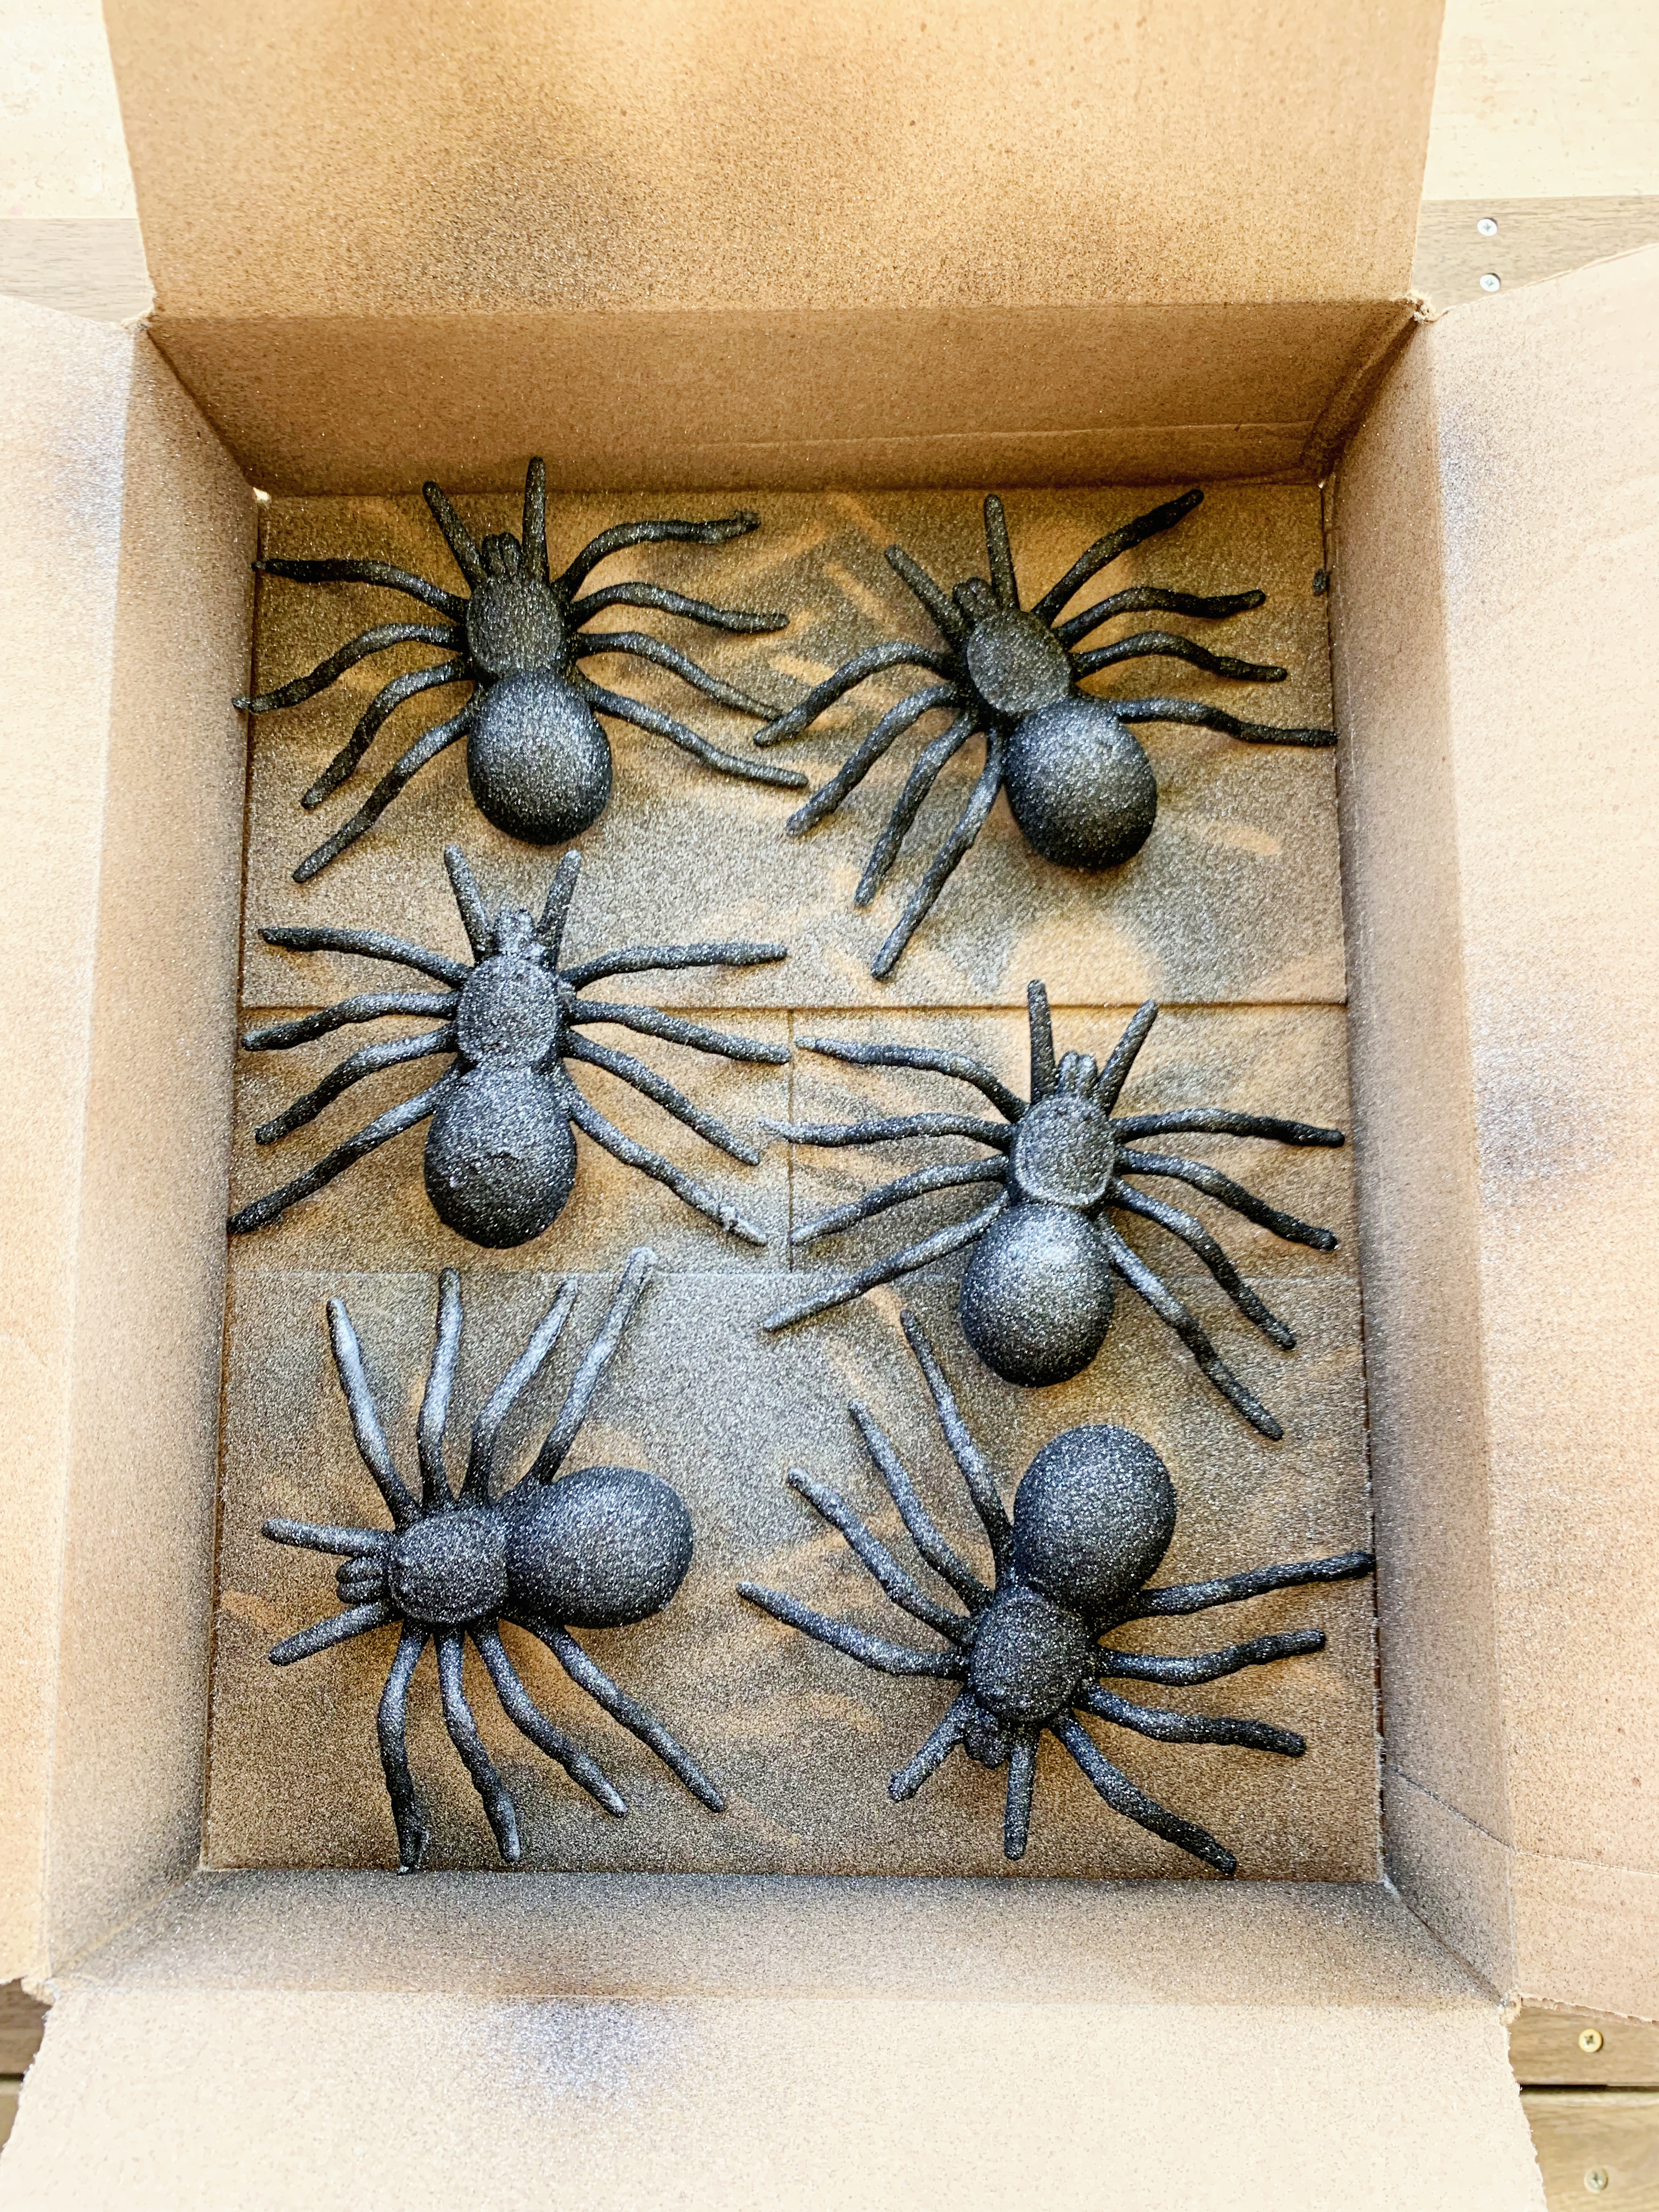
Our Dollar Tree was cleaned out pretty good, and I managed to get the last packs of black spiders. They also had purple and brown. But I’m a sucker for black and white, so black wasn’t a question! From the picture below, you can see that the finish had already started to come off before getting them home.. hence why they were probably one of the remaining packs left. I want these spiders to last for years to come, so I knew a little DIY was in order.
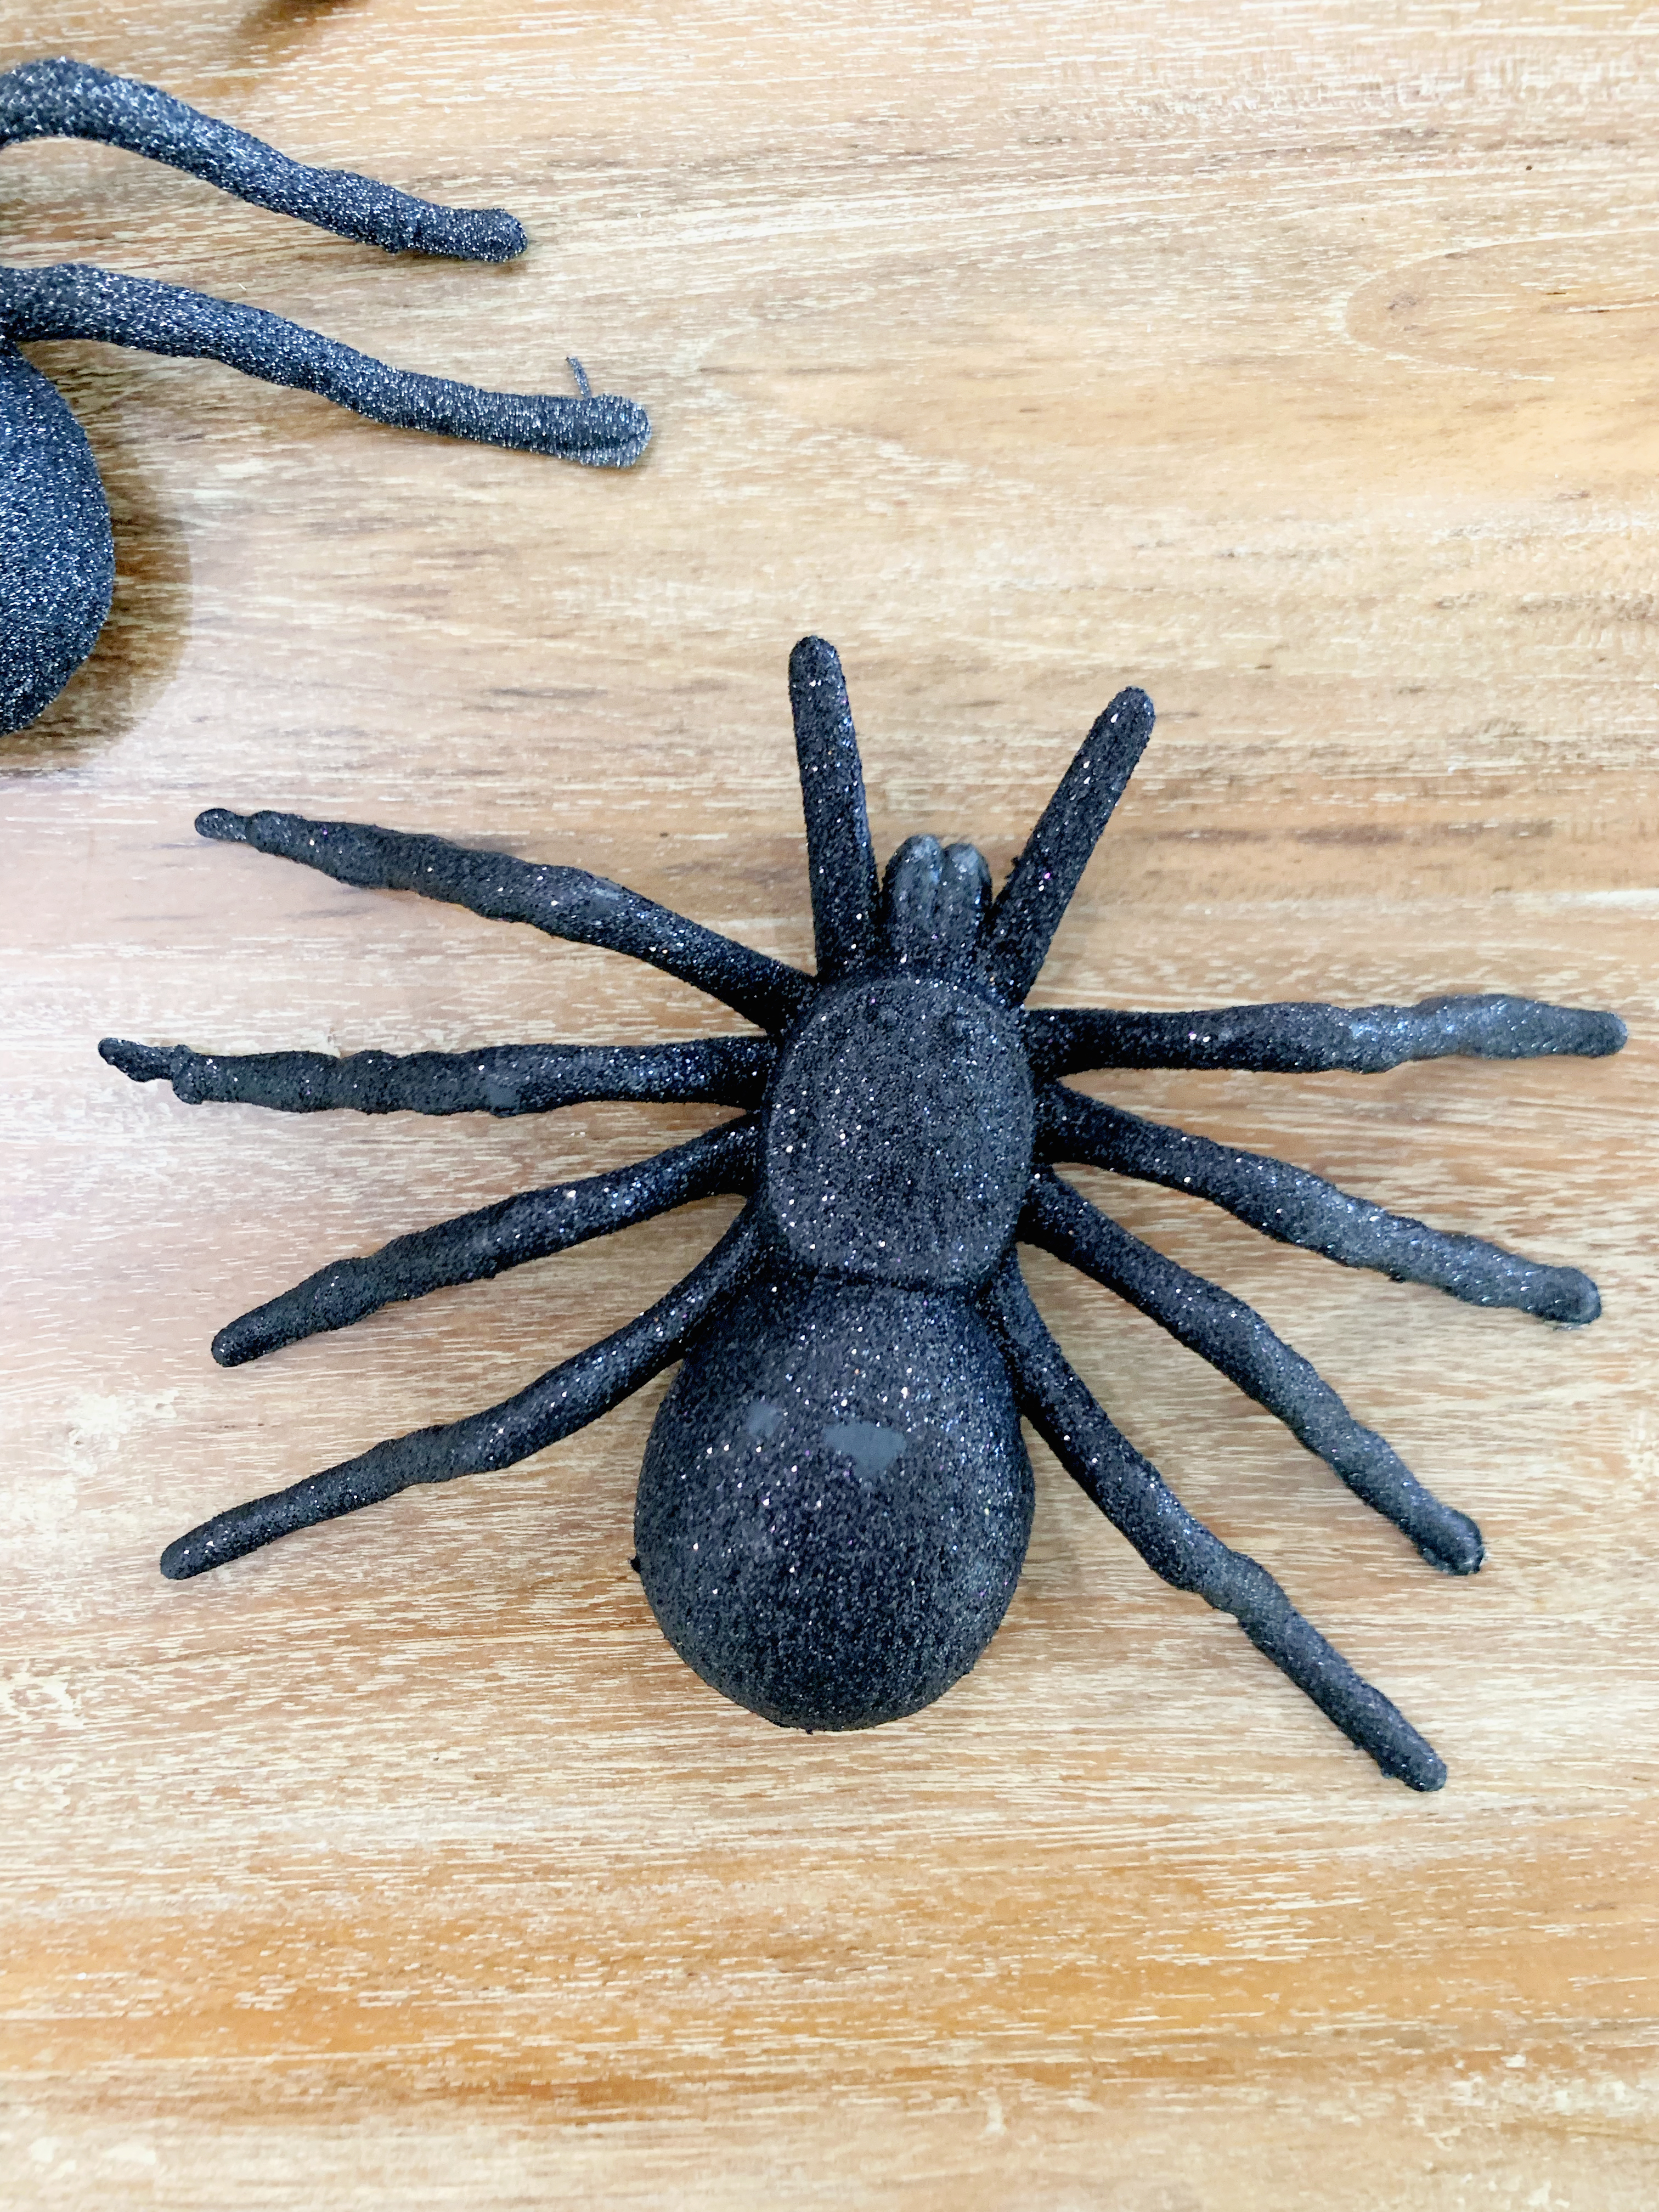
I got some black glitter spray paint from Michaels (and used my 40% off coupon always) to add some more sparkle and cover the holes in the finish. I feel like spray paint (and glitter to boot) is a DIY craft closet essential, so I wasn’t mad about adding it to my collection.
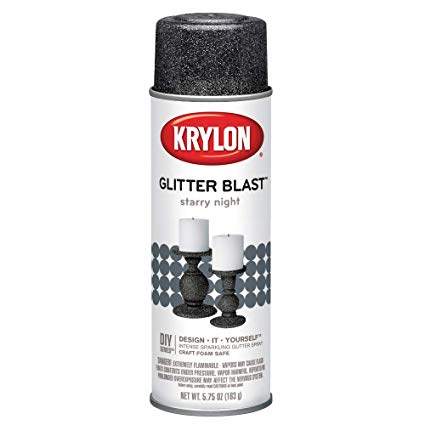
I did three coats on all twelve spiders to make sure that they would be extra sparkly. Was three necessary? Probably not. But, ahem, I’m one to be extra. *snaps* They took less than a day to dry. Granted, we are still rocking 90 degree temps here in Texas, so they basically baked in an outdoor oven. But assembly inside took no more than 30 minutes! I’ve got a fun timelapse video on my Instagram @SayingItSouthern to show the process!
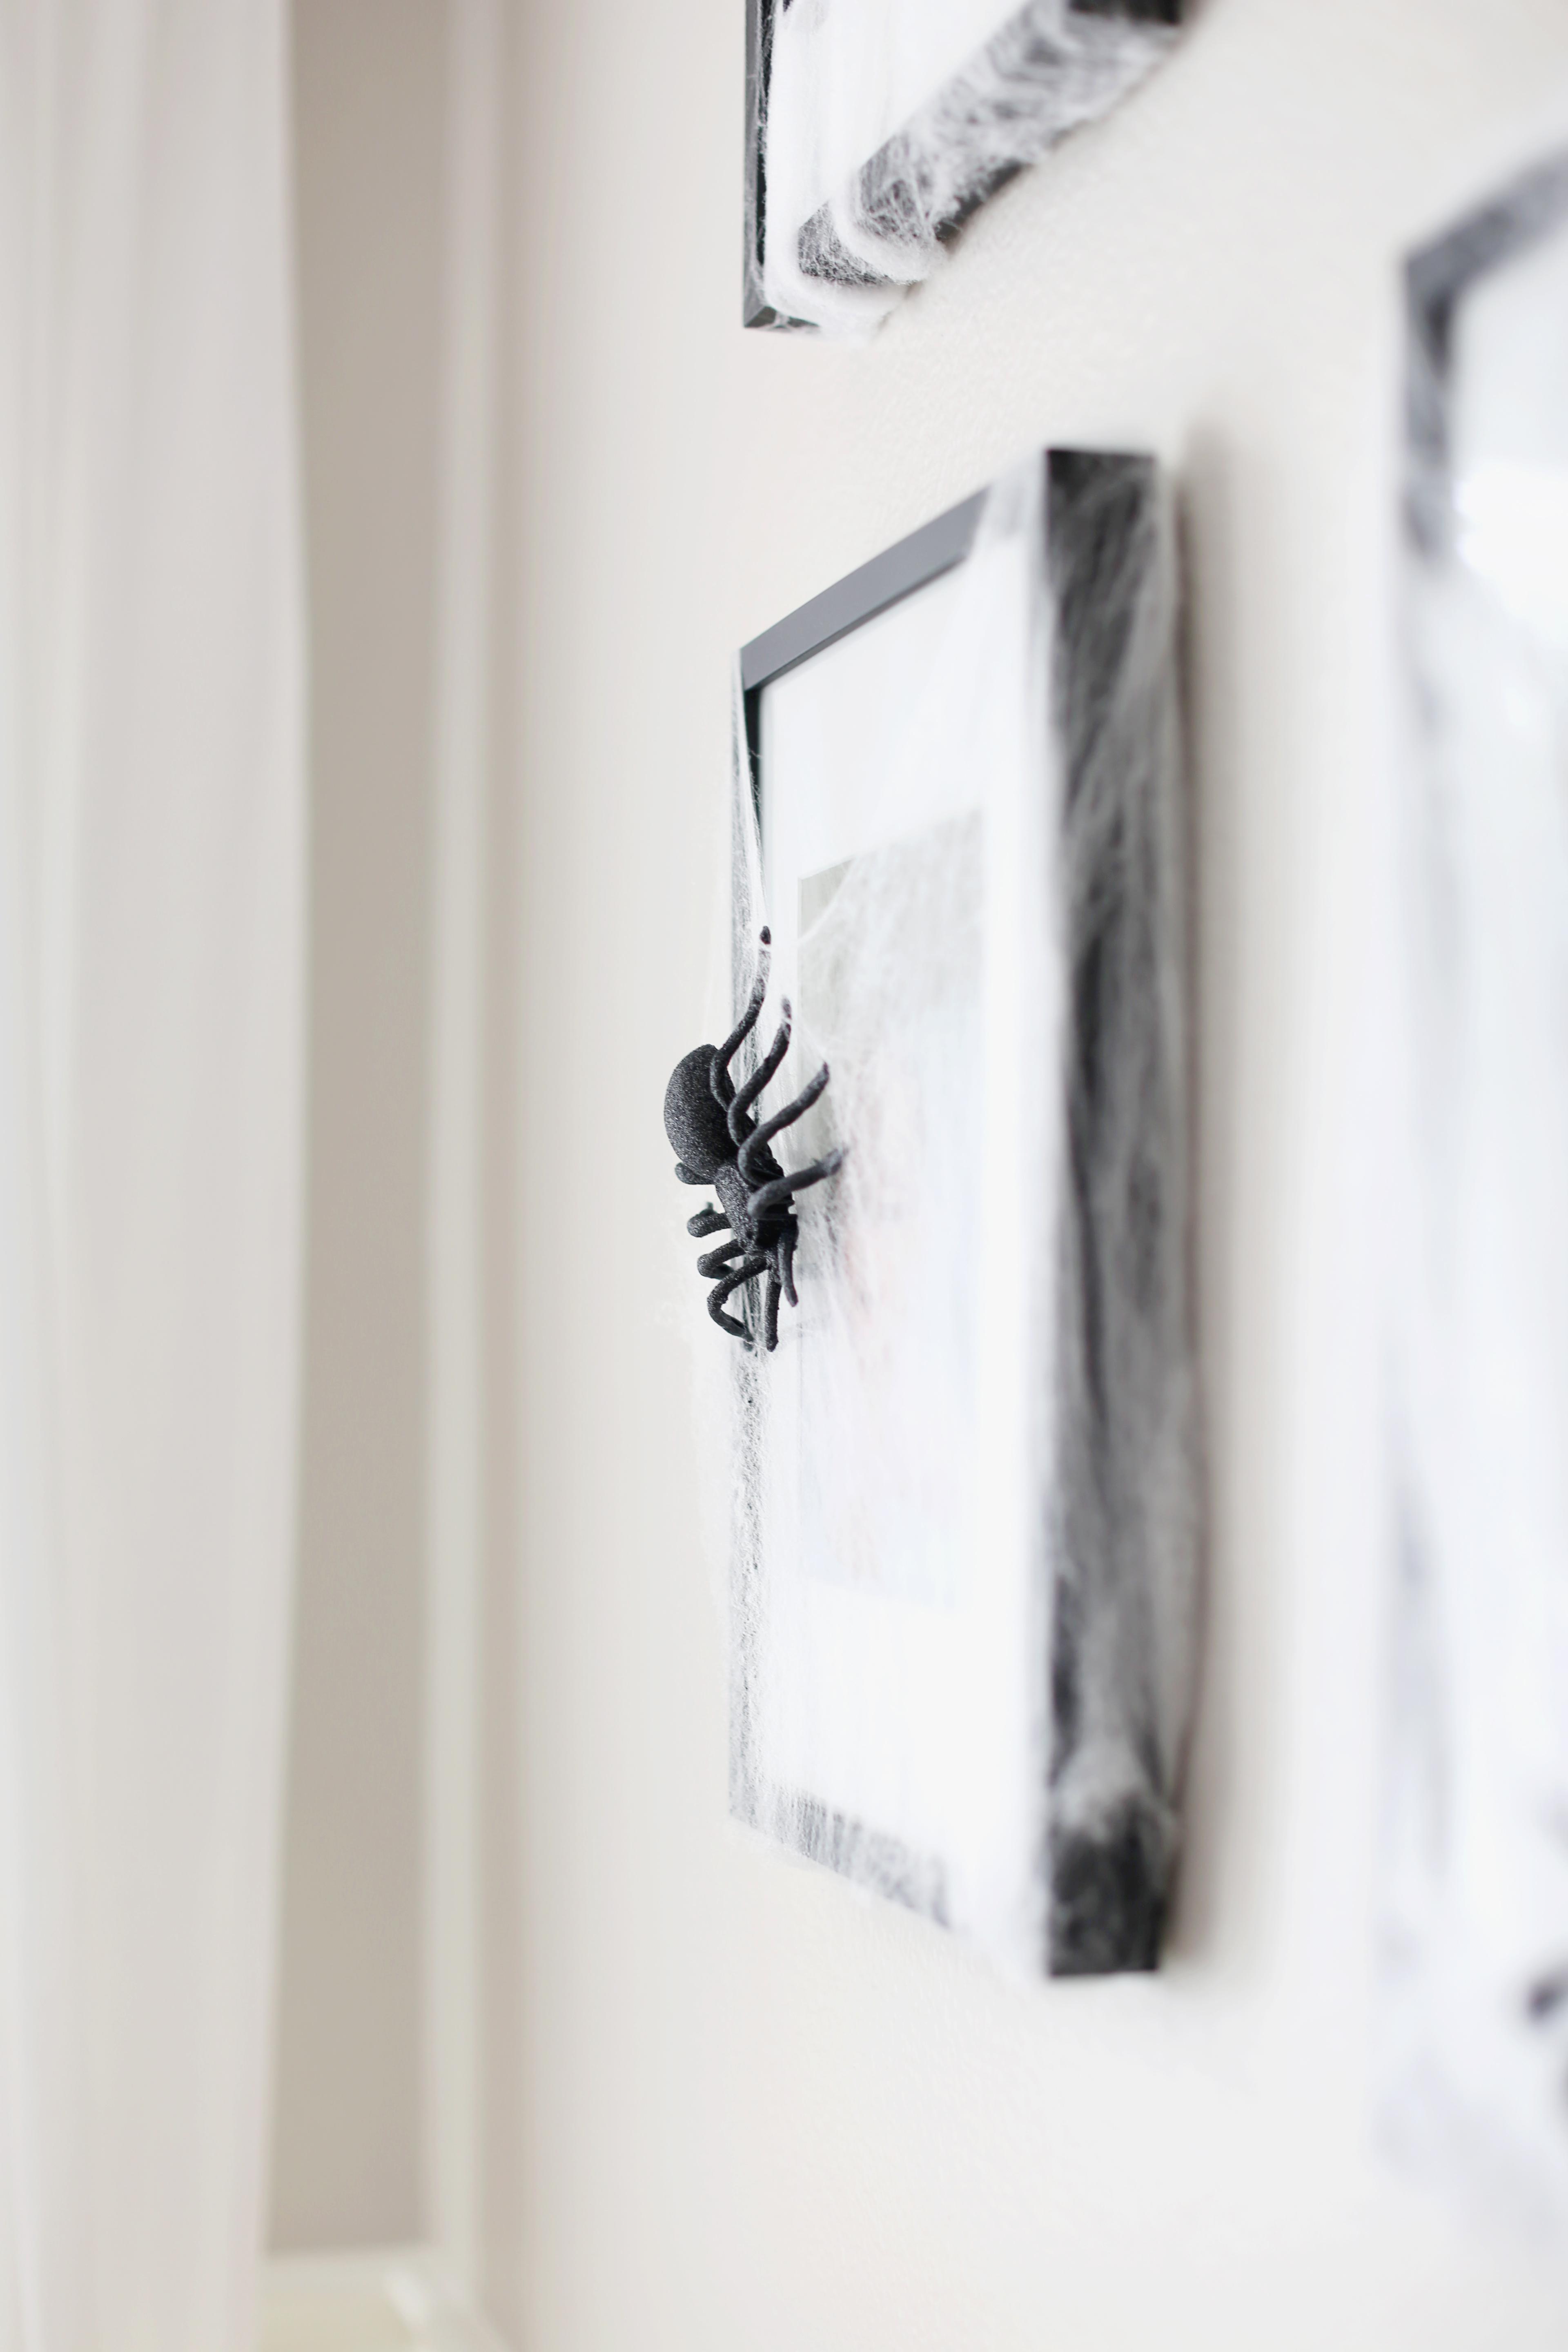
To get the webbing on the picture frame, I cut a piece a little larger than the frame. The webbing stretches very easily, so I began by tucking it behind one corner of the frame, giving it a tug, and tucking it behind the rest of the corners. No command strips, tape or another adhesive necessary. Because the webbing has a lot of holes between threads, I was able to just stick spider legs or antennas through the threads without gluing or taping those down either. Super easy! The wall has been up for a few days and not one spider has fallen! Am I about to jinx it?!
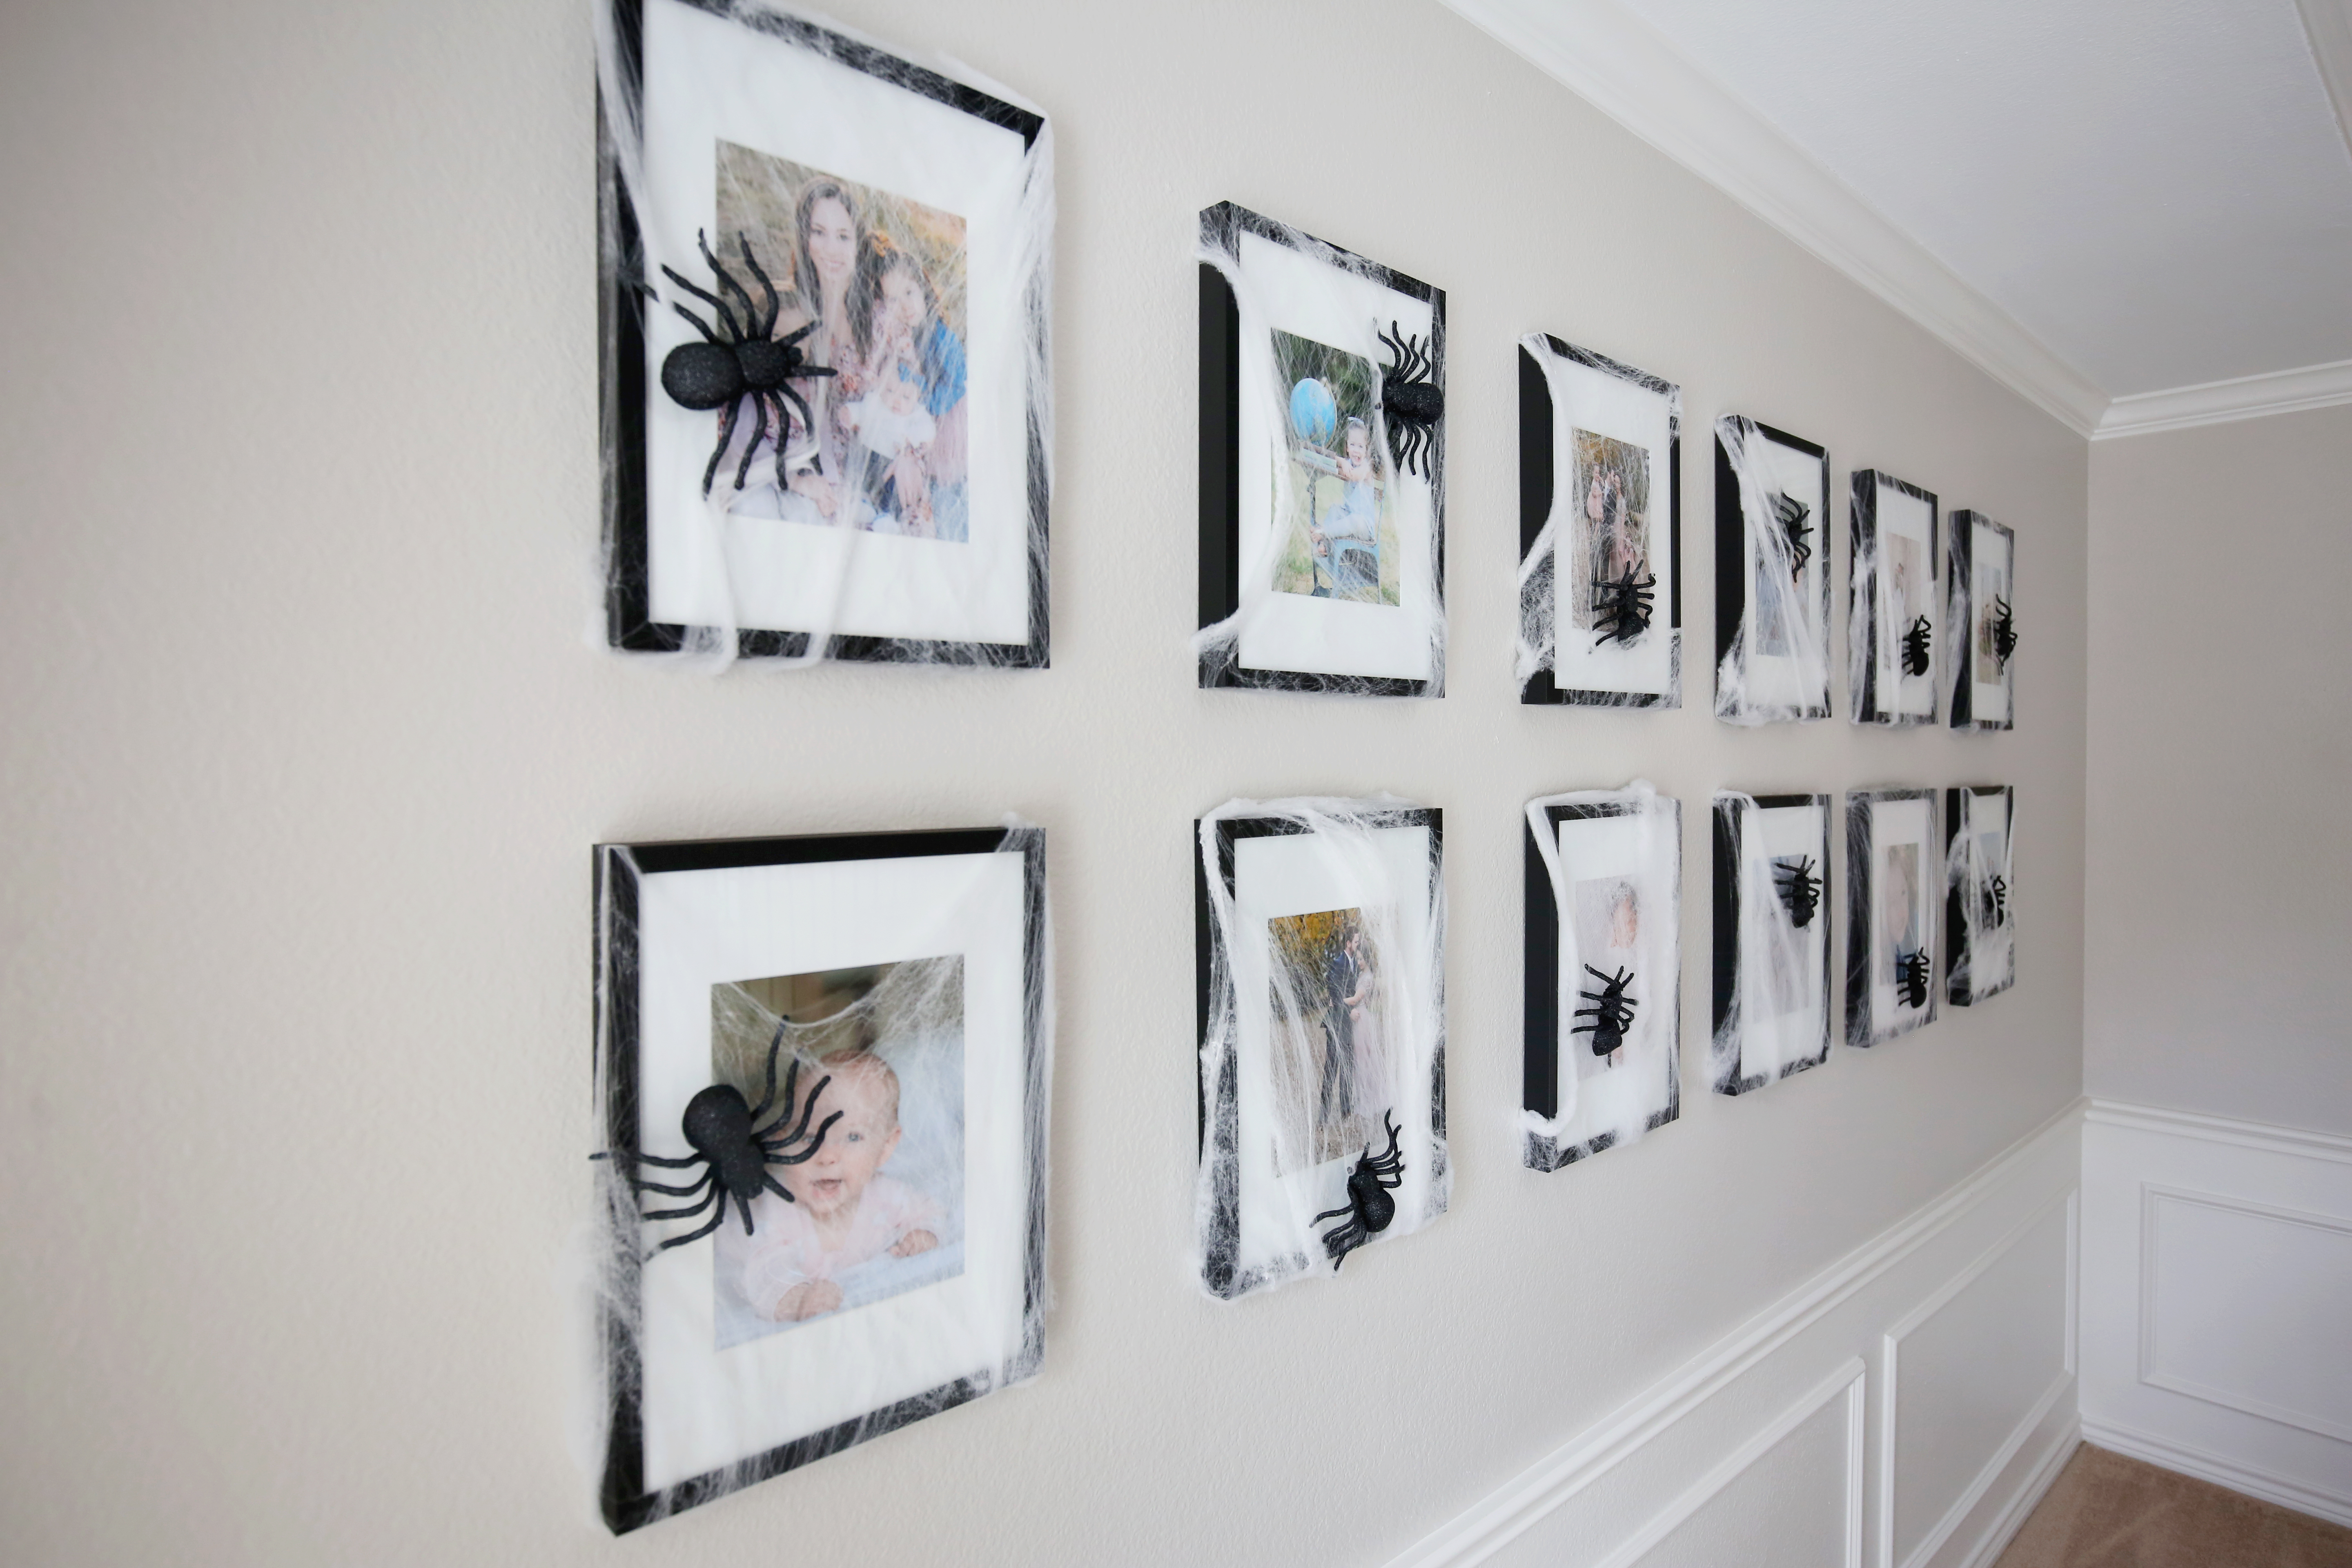
I love how they turned out and I’m so grateful to my friend, Nichole, for putting the spell on my house and all things Halloween! My ghouls.. I mean “girls”… are loving it too!
XOXO Lauren